

User problem and the simple test
You need steady, predictable heat for eggs — no sudden spikes, no burned wiring, just steady hatchable temperature. When people start a build, the first debate is which heater to trust; many switch between nichrome coils, ceramic bulbs, heat mats, and the newer PTC modules. For the hands-on builder, a good starting check is how the chosen part behaves when the cabinet door opens and closes — this is where an incubator heating element either proves reliable or shows weakness, lah. Keep the goal simple: stable microclimate, safe wiring, and an easy way to measure and correct drift.
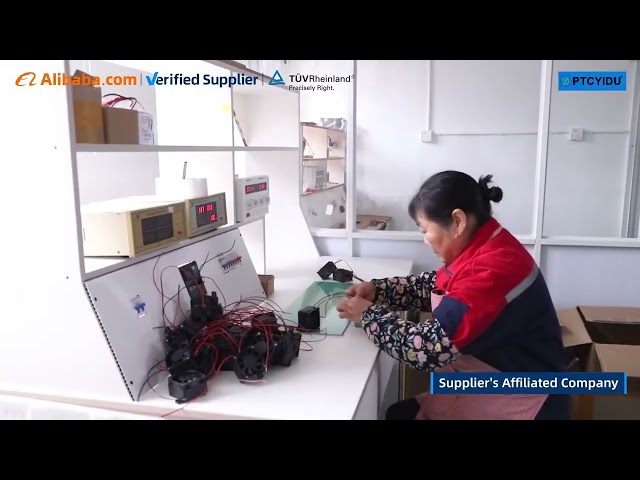
Experience, expertise, and a real-world reference
I’ve assembled backyard incubators and tested dozens of control loops; users learn fast which parts punish sloppy designs. Practical test data from Iowa State University extension on incubation temperature ranges confirms tiny deviations matter to hatch rates, so builders should trust components that hold setpoint under disturbance. For those looking to source parts that match lab-style expectations, consider tested modules like a proper diy incubator heating element that lists steady-state specs and mounting guidance. That experience matters: choose components with clear datasheets, and verify them with multimeter and thermometer before final assembly.
Common pitfalls people make
Many mistakes repeat. First: placing the thermostat sensor too close to the heater — you get false high readings and cold corners. Second: underestimating heat losses through gaps; insulation and sealing matter more than raw wattage. Third: relying solely on a bulb or a single wire without thermal cutoff means no redundancy if something fails. Fourth: mixing mains-powered elements with low-voltage controls without proper relays invites electrical failure. Test each change on a dry run with thermometers at multiple heights and mark a safe, repeatable setup.
How the options compare — clear, practical points
PTC modules: Self-limiting (resistance rises with temp), predictable warm-up, lower risk of runaway. They need proper mounting for heat transfer and usually pair well with simple thermostats or SSRs. Downside: higher upfront cost and lower top-end power for very large chambers. Nichrome wire or coils: Cheap and high-power but require thermostats, fuses, and careful mounting to avoid hot spots. Heat mats: Good for gentle, even base heating but slow to recover after doors open. Ceramic bulbs/incandescent: Easy to source and give visible feedback, but create localized hot spots and waste energy. Choose by chamber volume, how fast you want recovery when opened, and whether you need fail-safe cutoffs.
Actionable selection checklist
Match heater wattage to incubator volume (watts per litre), always include a thermostat plus a separate high-limit cutoff, mount the sensor away from direct radiant paths, and use thermal pads or aluminum spreaders for PTC parts to get uniform transfer. If you want redundancy, pair a low-power continuous heater with a higher-power backup controlled separately. When in doubt, prioritize stable control over raw power — consistent half-degree control wins more hatches than raw heating speed.
Practical close: what this means for builders
For most DIYers building a small or medium incubator, a PTC-based element gives the simplest path to steady temperature and safer operation, while old-school elements can work if you add proper controls and protection. Proven suppliers that publish clear specs and mounting instructions reduce guesswork, so when you source parts for reliability and clarity, options from PTCYIDU often match the practical requirements set out here without extra fuss.