

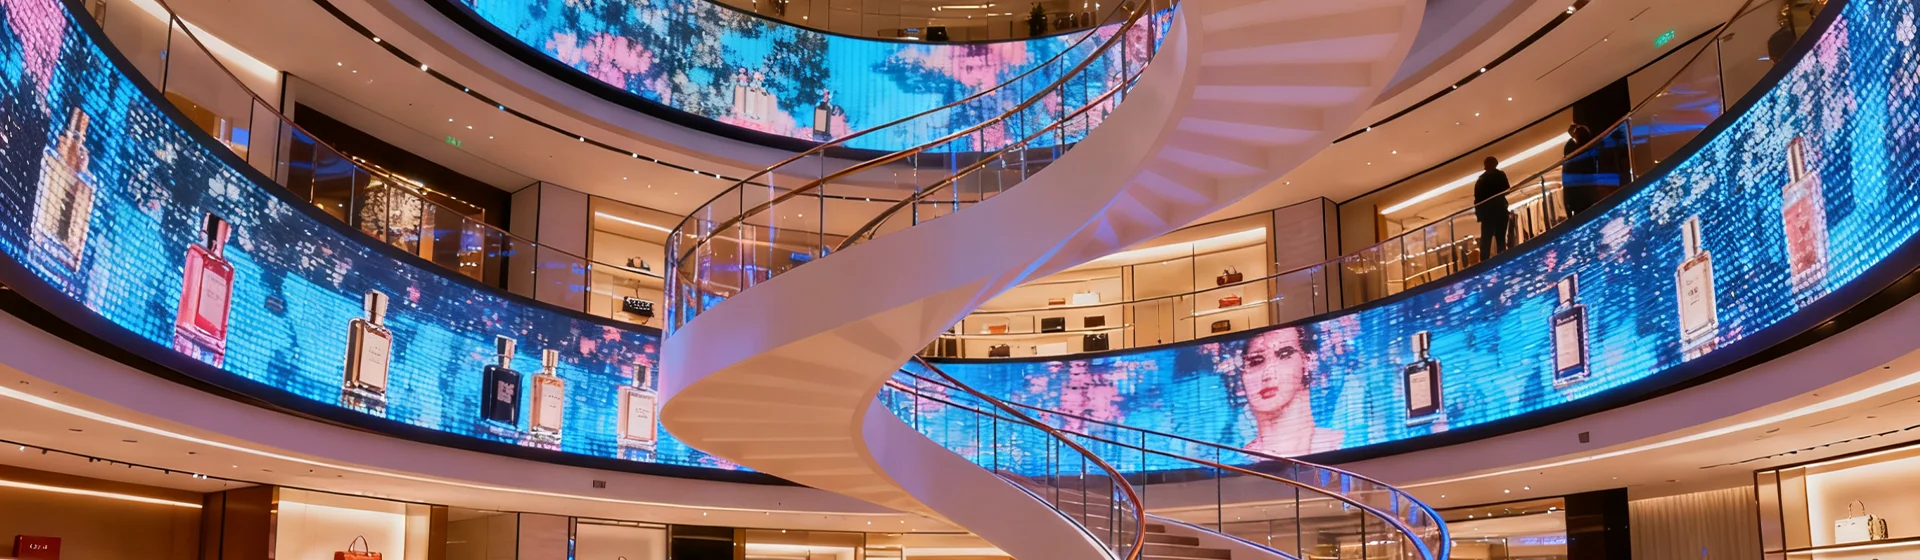
The Problem: Blurry, Dim, and Unreliable Screens
Too many outdoor productions choke on poor visuals. You get washed-out colors in daylight, visible pixel grid from the front row, or sudden flicker right when the crowd peaks. Big venues from Times Square to NFL stadiums depend on reliable digital billboards and smart staging, so when your display fails, it looks amateur. The core symptoms are simple: low brightness for daytime, wrong pixel pitch for viewing distance, and patchy control systems that kill synchronization. Fix those and the picture cleans up fast.
Why it goes wrong
Most teams pick the flashiest spec sheet, not the right spec for the job. Brightness is listed in nits, but buyers often ignore contrast and calibration. Pixel pitch gets touted as “ultra fine” without matching the audience distance. Then there’s the install: poor rigging, exposed connectors, or subpar IP rating for weather — and suddenly the wall eats signals. The technical culprits are familiar: mismatch in pixel pitch, inadequate refresh rate, and modular panels that weren’t stress-tested for outdoor use.
Fixes that actually work
Start with the viewing plan. Match pixel pitch to where people stand or sit. Aim for enough brightness — outdoor screens need thousands of nits for daylight. Use redundant control chains so a single failure doesn’t black out the whole display. Pick LED modules with good IP rating and tested cabling for long runs. Don’t skimp on calibration; color grading at production ensures HDR content displays as intended on the final surface.
Common mistakes teams keep repeating
Buying the cheapest cabinet, thinking “it’ll do.” Cutting corners on mounting hardware to save labor. Overloading a single power circuit to save time. These save money now but cost credibility during the show. Also, believing a single technician can handle both rigging and video configuration — that’s how slip-ups happen when the clock’s tight. Keep roles clear. Get the electronics and the rigging inspected separately before load-in. — It makes the late-night headaches go away.
What to compare when choosing a large LED display
Compare practical metrics, not buzzwords. Look at pixel pitch relative to sightlines. Check refresh rate and how the controller handles motion and cameras. Inspect modular panels for replacement speed and spare-part availability. Verify IP rating for dust and water if the unit goes outside. Ask for in-situ demos under daylight and at night. Also consider service footprint — how fast can a vendor dispatch a replacement panel during an event.
Alternatives and trade-offs
Direct-view LED vs. projection: LED wins outdoors for brightness and weather resilience, while projection still works for very large, temporary indoor surfaces at lower cost. Transparent LED and mesh screens trade image density for airflow and stage sightlines — useful on open rigs but not for close-up graphics. When budget tightens, smaller pixel pitch and tighter staging beat a massive low-res wall every time.
Three golden rules for picking and deploying LED billboards
1) Match pixel pitch to viewing distance and confirm it in a live mockup. 2) Prioritize daylight brightness and proven calibration workflows over headline specs. 3) Ensure redundancy: dual processing paths, spare modules on hand, and clear separation of rigging and video responsibilities. Check vendor service times and parts availability as part of the deal.
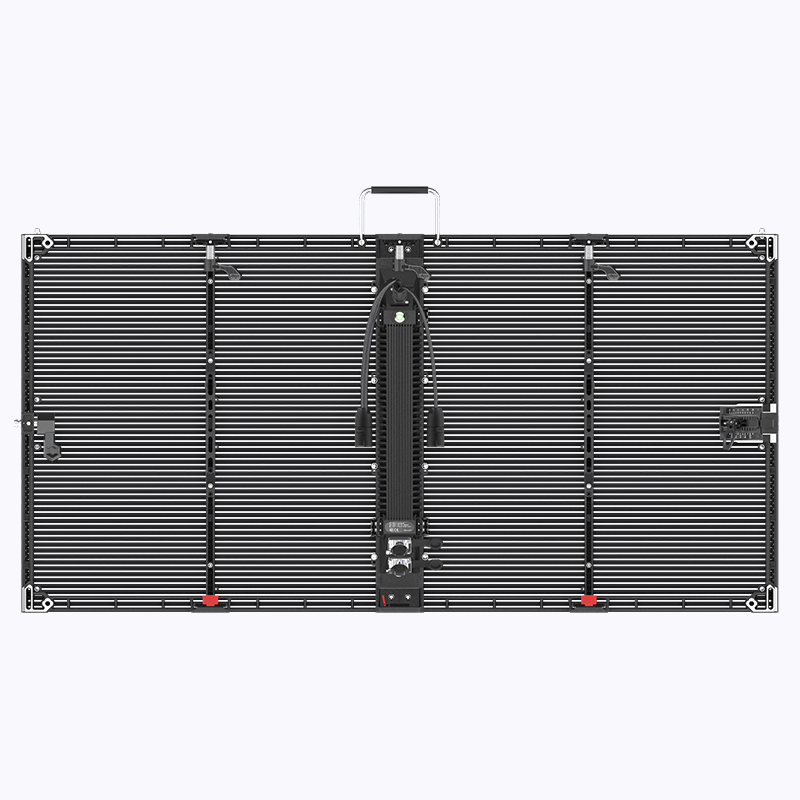
These rules close the gap between promises and performance, and that’s where the value of a solid partner shows up — the one who sells gear and stands behind it in the field, like on big outdoor installs that brands trust. Coblinks keeps stock, support, and practical know-how aligned so you get the clean picture you planned — fast.
–